Purpose and location:
This dialog defines the save and/or export options of the current HelpXplain project and publishes it. The settings available depend on the output format chosen.
Location: File > Publish
Format bar:  Click on the bar at the top beneath the Format: header to choose the output format. The following formats are available:
Output File and preview options: 
|
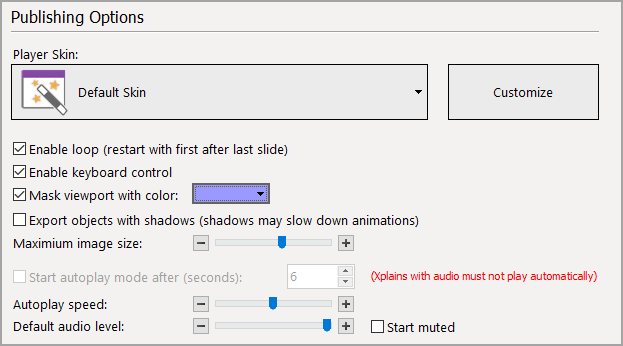
Publishing Options: 
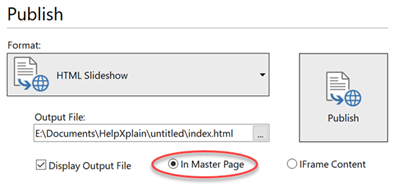
Display Output File These settings control how your Xplain will be previewed automatically after publishing. HelpXplain uses its own miniature local web server for this. Note that you can always preview your finished Xplain without publishing by selecting the Preview tool on the left in the HelpXplain title bar.
|
The publishing options for eWriter and Ziphelp are quite similar to those for HTML slideshows. This is because the actual content of an eWriter/Ziphelp help file is an HTML slideshow, with all its features and components. The display is dynamic and exactly the same as the HTML slideshow, complete with animations, audio, interactive features etc. How you and your customers and users can get the eWriter Viewer •Users on Windows 8 and 10 will be automatically prompted to get the free eWriter Viewer from the Windows Store when they open an .ewriter help file. •Users on Windows XP, Vista and 7 can get the installer for the eWriter Viewer from the eWriter website at: •eWriter Viewer version 4 can read Ziphelp as well. Publishing Options: 
Display Output File Displays the eWriter or Ziphelp file automatically after publishing. |
The instructions below explain the general principles of deploying your animated Xplains on your website. The procedure is like embedding a YouTube video, and just as easy. Files you need to uploadWhen you publish a an animated HTML infographic, HelpXplain creates the following files and folders in your output folder, which should be empty before you start. You should upload the entire folder with all the files it contains to a suitable location on your web server.
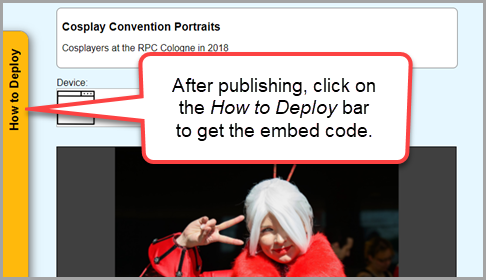
Embed Code:To get the specific code for each Xplain select the In Master Page option for previewing your Xplain in the Publish dialog. You will then be shown the specific folder names and embed code for deploying your Xplain on your website.  After publishing, the finished Xplain will be displayed in a master page with a How to Deploy bar on the left, like this;
Dimensions and embed code: The defined display dimensions of your Xplain will be shown in the How to Deploy box in the Master Page preview. However, the absolute dimensions are not critical, because an Xplain is always responsive and automatically fits the screen where it is displayed. What is important is maintaining the aspect ratio (the relationship of width to height). The code for embedding a responsive iFrame containing your Xplain in your own web page will look like the example below, but the individual settings may be slightly different depending on the settings in your individual Xplain. You will need to adjust the path in the src= reference depending on where you store the Xplain files and folders relative to the web page containing the embed code. Sample embed code: <div style="position:relative; width:100%; height:0; padding:0 0 56.333333333333336% 0; overflow:hidden"> |
|
|

