Step 1: Prepare your images
This works best if all the images have the same dimensions. If they are different sizes you should at least crop them to have the same aspect ratio (relation of width to height) so that they fill the slider window when they are displayed.
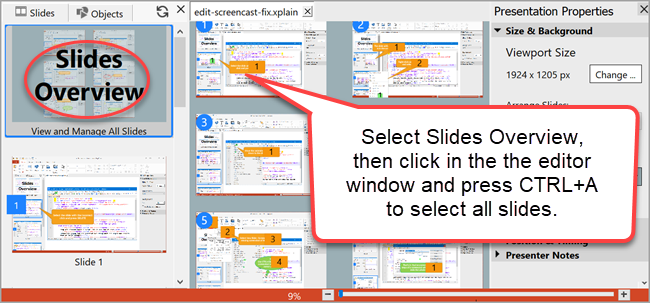
Step 2: Select your images with the image slider wizard
In HelpXplain, select in the menu and then click on the tool.
In the dialog shown, select the images you want to include. You can select multiple images or one image at a time. The wizard will go on asking you for more images until you're ready.
When you are finished the images for the slider are shown in the workspace.
Step 3: Enter the title and caption information
Select in the menu and enter a title, the name of the publisher and a description.
Optional: Change the background color
By default image sliders have a dark background that provides good contrast for presenting images and graphics.
If you want to change this click on in the list on the left, then open in the pane on the right. Use the color picker under the Background heading to select black (usually best) or another dark color for the slide background. See Size & Background for more information if you are interested.
Optional: Adjust the image size
If an images isn't a good fit you can resize it. See further below for instructions.
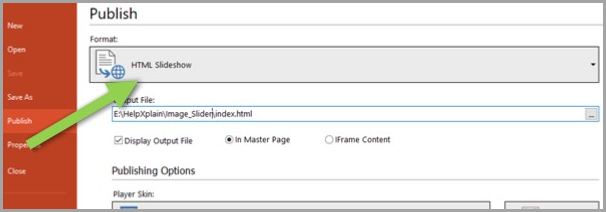
Step 4: Publish (create) your image slider
Select in the menu.
Click on the bar at the top and select as the format to publish.
Choose an EMPTY output folder with the [..] browse button in the Output File: field. This is important because the output contains multiple files and folders.
Select your configuration options. See the Publish dialog reference if they are not self-explanatory.
Before clicking on , make sure that the In Master Page button is selected. This shows how the slider will look in a real web page and includes a lot of useful information.
Click on to generate and view your slider. Information on how to add it to a web page will be displayed there. |